Basing Out the scaffold
Each erector will require a scaffold hammer, a scaffold "key", a ruler or tape measure, a small magnetic spirit level and a leather belt and "frogs" to carry these tools.
It should be noted that the following procedure is much easier and therefore safer using a three person crew.
- Level the ground and/or clear the area on which scaffold is to be erected of any debris.
- Determine the point at which to start building the scaffold (placement of the first standard). This will normally be at the high point of any slope.
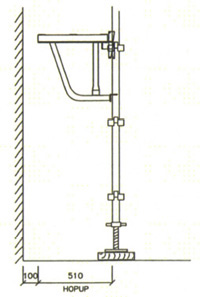
- Establish how far from the building or structure the inside standards have to be placed.
Note - the maximum allowable gap between the building or structure and the edge of the working platform is 200 mm however we recommend a gap of 100 mm. Look up to ensure that there are no obstructions and that the scaffold will not encroach on the electrical "No Go Zone".
 |
 |
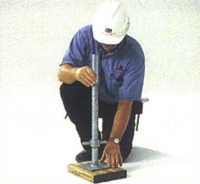 |
1Place a sole board on the ground ensuring that it bears evenly along its full length. |
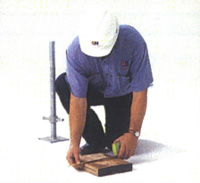 |
2Place an adjustable base jack into position on the middle of the sole board. |
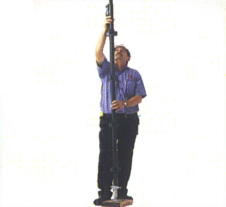 |
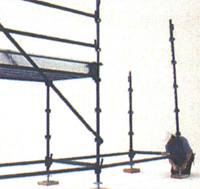
3Place a 2m standard (vertical member) on the jack. This will be the ("Inside" standard). |
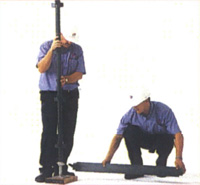 |
4While one person holds the first standard upright,a second member of the crew lays a 1200mm transom (horizontal plank support) at 90 degrees to the building from the base of the first standard. This gives the scaffold its width. |
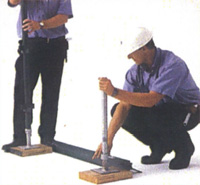 |
5The second member of the crew then places a sole board and jack into position - use the transom length to judge the distance. |
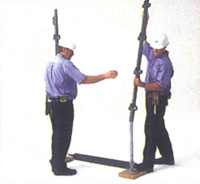 |
6Place a 3m standard onto the jack. This is the ("Outside" standard) which extends up vertically 1 metre higher than the inside standard to allow for a handrail. |
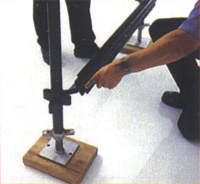 |
7While one person holds the two standards vertically lone standard in each hand!. the second person places the transom into the bottom "v" pressing !connection pointl of each standard. |
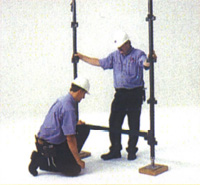 |
8This will create an "H" type arrangement. Ensure that the lower "v" pressings are on the inside and that the box connectors on the top of the standards face outwards from the scaffold. |
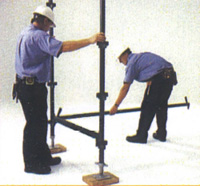 |
9The second person then places a ledger !horizontal spacing memberl into the bottom "v" pressings of each standard at 90 degrees to the transom. The ledger gives the scaffold bay its length. |
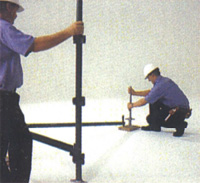 |
10The second person then places the third sole board and jack into position using the ledger as a guide for the length. |
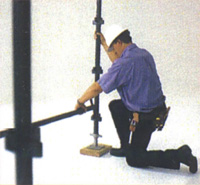 |
11Using a 2m standard, place it onto the jack !keep the box connector facing out from the centre of the scaffoldl. Whilst one person holds the standard's plumb, the second person carefully raises the end of the ledger and locates it in the appropriate "v" pressing on the third standard. The scaffold should now free stand supporting itself. |
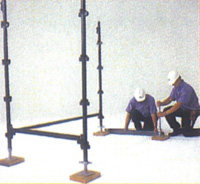 |
12Lay a 1.2m transom at 90 degrees to the building from the base of the third standard. Place the fourth sole board and adjustable base jack ljackl into position. |
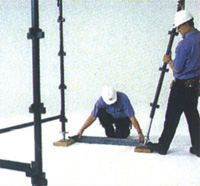 |
13Place the fourth standard into position on the jack. [Use a 3m standard for the outside of this scaffold). |
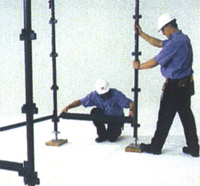 |
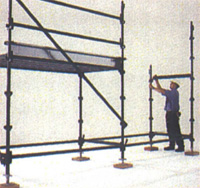
14While one person supports and holds the standard vertically, the other person inserts the second transom into the lower "v'' pressing. |
 |
15Attach the second ledger into place to complete a rectangle. A scaffold bay is defined by its length and width. This is a 2.4m x 1.2m bay. |
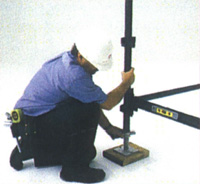 |
16Place a spirit level on the first transom and wind the second jack up or down until the transom is level. |
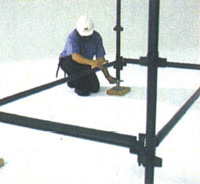 |
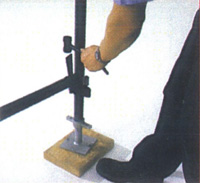
17Repeat the previous step in the corner of the third and fourth jack until the scaffold is level- check that all box connectors on the standards face outwards. |
 |
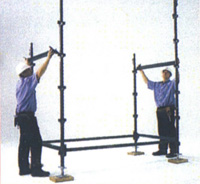
18Attach the components together using a suitable hammer. Knock the wedges of the ledgers and transoms firmly into the "v" pressings on the standards. Do not use excessive force . You have now erected one "bay" of scaffold. Make sure the "bay" is parallel to the building and is "square" - adjust as required. |
 |
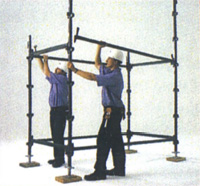
19Place two more transoms at each end of the bay. They should be in the fourth "v" pressing from the ground. Each set of "v" pressings are spaced approx. 500mm apart. This will give us a 1.5m lift in the scaffold, (the vertical distance between the ledgers and transoms). |
 |
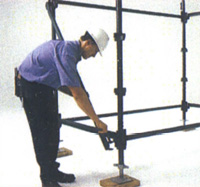
20Attach the next two ledgers into place (the fourth "v" pressing from the ground) using a hammer, knock the wedges in on both the ledger and transoms. You have now erected the first "lift" of scaffold. The effective top working platform is 2 metres above the supporting surface. |
 |
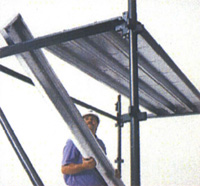
21Attach a diagonal cross brace (end brace) across the end of the scaffold, starting from the lowest "v'" pressing. |
 |
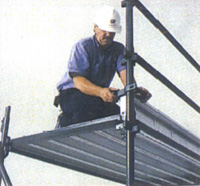
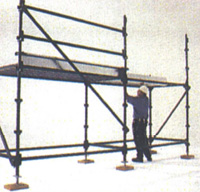
22The working platform is created by placing a full set of steel planks on and between the transoms. Place 5 scaffold boards into the bay with the ends of the boards held securely in place by the transom (never lap steel boards, or use a bay without a complete set of boards). |
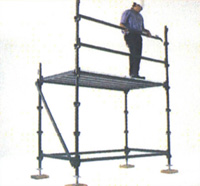 |
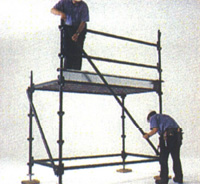
23A double handrail (guardrail) should be fixed to the standards on any side of the working platform from which a person could fall. Attach ledgers to the next two sets of ··v" pressings above the working deck. If the end of the scaffold bay is not against a building and a person could fall, the inside standard must be extended to allow handrails to be fitted across the end of the bay. See steps 10, 11 & 12 in "Providing Access to the Working Platform" |
 |
24Insert a steel plank of the appropriate size on its side to form a toe board (kick board) immediately underneath all handrails. Use toe board clips or some other suitable means of fixing the plank into place. (The lower edge of the kick board must sit on the transom at each end). |
 |
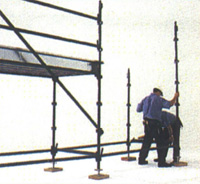
25Attach a diagonal (Face) brace between the standards on the handrail side (outside) of the scaffold. Normally the brace would be attached to the lowest "v" pressing to the ground but in this case start one "v" pressing up from the bottom. (This will allow us to add the ladder tower). |
 |
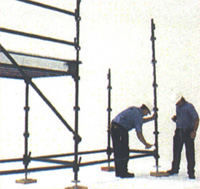
26Repeat steps 9 to 24 as many times as required to base out the length of your scaffold. (Step 21 is only required at each end of the scaffold. Step 25, face bracing, should be completed on the first bay then every third bay). |
 |
 |
 |
 |
||

